
Intro: Are you looking to boost engagement on your website by helping readers discover more of your content? One effective way to achieve this is by displaying related posts. In this guide, we’ll explore how to use the Query Loop feature in Bricks Builder to effortlessly showcase related posts, improving user experience and encouraging exploration of your site’s content.
Bricks Builder offers an intuitive platform for creating stunning websites, and with its Query Loop feature, you can easily customize how related posts are displayed. However, in this post, we will discover the capabilities of Max Addons Query Loop. This powerful feature enhances Bricks Builder’s functionality, allowing for even more flexibility and customization when querying related posts.
Whether you’re experienced or just starting, this guide will walk you through setting up related posts with the Max Addons Query Loop feature, helping you create a more engaging and user-friendly browsing experience for your audience.
But before we proceed to our tutorial, let’s first understand what Query Loop is.
Understanding Query Loop in Bricks Builder
Query refers to fetching specific data from your website’s database. For example, you might want to retrieve the latest blog posts, showcase posts from a particular category, or, in our case, display related posts. This is similar to asking the database for specific information. Bricks Builder simplifies this process by providing options to specify your query parameters, such as the number of posts to fetch or the category from which to pull posts.
Once the Query has retrieved the desired data, the Loop comes into play. This involves iterating through each piece of fetched data and displaying it on your webpage. For instance, if you query for the latest blog posts, the Loop will display each post’s title, category, author, date, and content one after another.
In simple terms, the Query Loop feature enables you to dynamically fetch and showcase content on your webpage without writing any code.
Where You Can Display Related Posts on a Website?
Related posts can be strategically displayed on various parts of a website to maximize user engagement. Here are some common placements for displaying related posts:
- End of Blog Posts: Showcasing related posts at the end of each blog post encourages readers to continue browsing similar content related to their interests.
- Sidebar or Widget Area: Incorporating a related posts widget in your website’s sidebar or widget area provides easy access to additional content while users navigate through different pages.
- Within Content: Inserting related posts within the main content area of a webpage, either at the end of an article section or between paragraphs, offers contextual recommendations to readers as they consume the content.
- Footer: Including a section with related posts in the footer of your website ensures that users have access to additional content regardless of where they are on the site.
- Category Pages: Displaying related posts on category pages helps users discover more content within a specific topic or theme they are interested in exploring further.
- Homepage: Integrating related posts on your website’s homepage provides visitors with immediate access to relevant content, enticing them to delve deeper into your site’s offerings.
Implementing Query Loop for Related Posts in Bricks Builder Using Max Addons
With Max Addons’ Query Loop extension, showcasing related posts becomes a breeze! You won’t need to deal with any HTML code. Just follow these simple steps, and by the end of this post, you can showcase related posts on your website.
1. Install and Activate Max Addons
First, ensure you’ve got Max Addons installed and activated on your WordPress website.
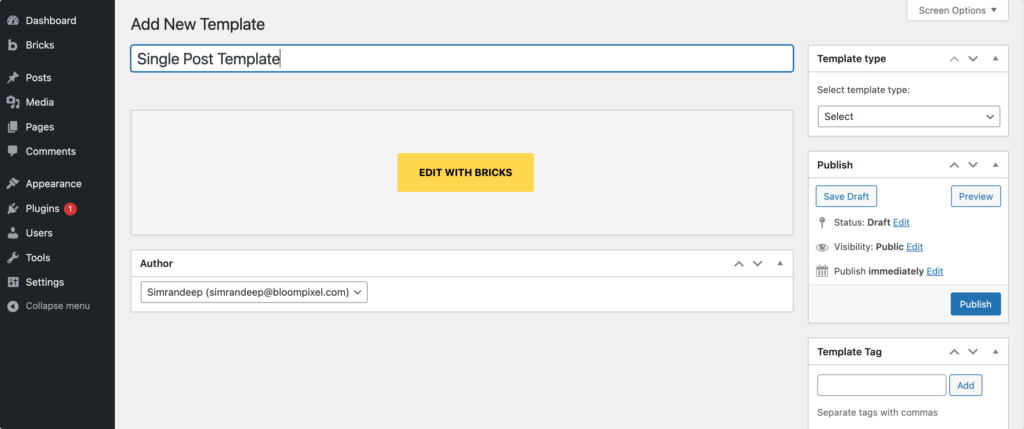
2. Create a New Single Post Template
After activating Max Addons, head to your WordPress website dashboard and click Bricks >> Templates.
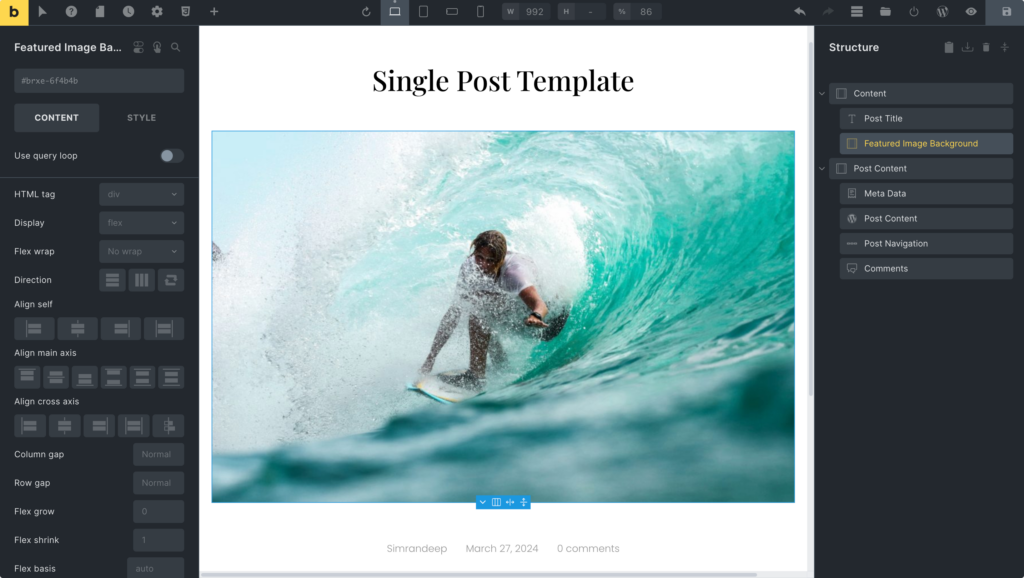
3. Add Necessary Elements
Once you’re in the template editor, you can choose from the pre-built community template designs or create your template from scratch.
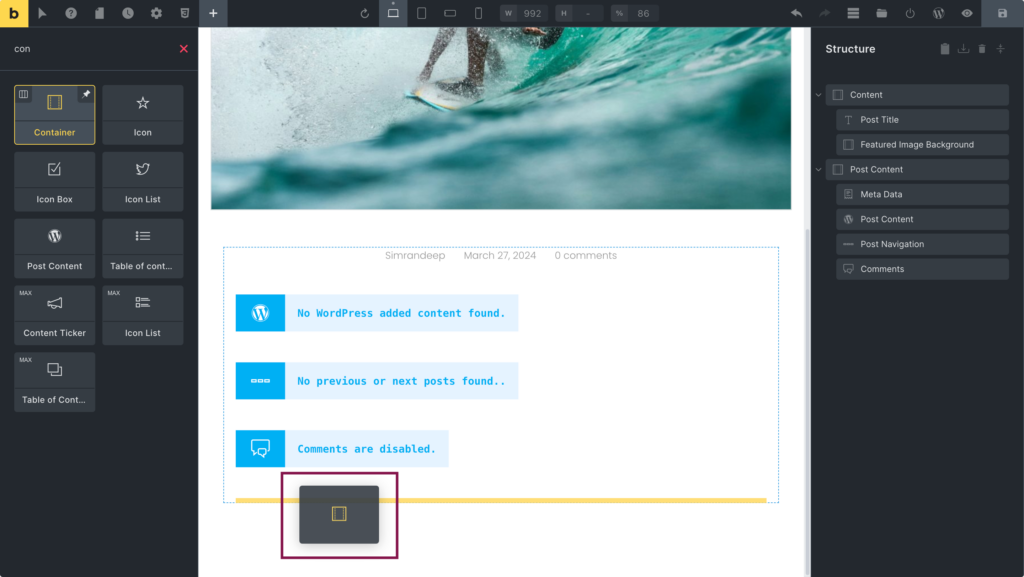
4. Add a Container
Add a Container at the end of the template or wherever you want to showcase related posts.
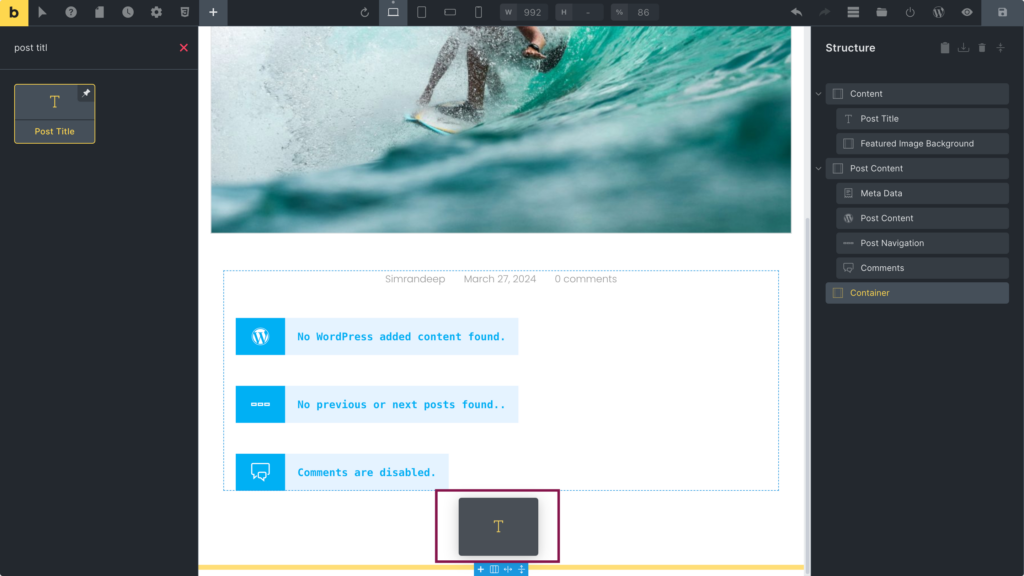
5. Add Post Title Element Within the Container
Next, add the Post Title element to the container. You can add any Post Element of your choice.
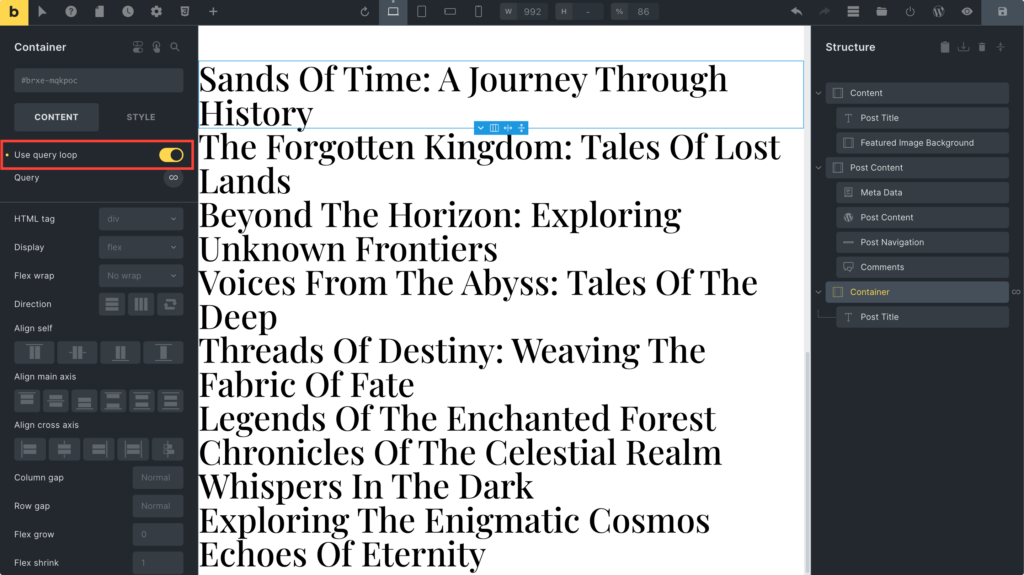
6. Toggle on the ‘Use Query Loop’ Button in Container
Click on the Container element and toggle the ‘Use query loop’ button. As soon as you enable the button, all your website posts will be displayed on the template.
7. Choose ‘Max Query’
Within the Query Loop settings, in the Type option, choose “Max Query.” This selection allows for more advanced querying capabilities.

8. Set Max Query [Related Posts]
After selecting “Max Query” as the Type, further specify the query by choosing “Related Posts” in the Max Query Type option. This instructs the Query Loop to retrieve posts related to the current content.

9. Select the Post Type
Specify the type of posts you want to retrieve. This could be posts, custom post types, or any other type of content you want to display as related posts.

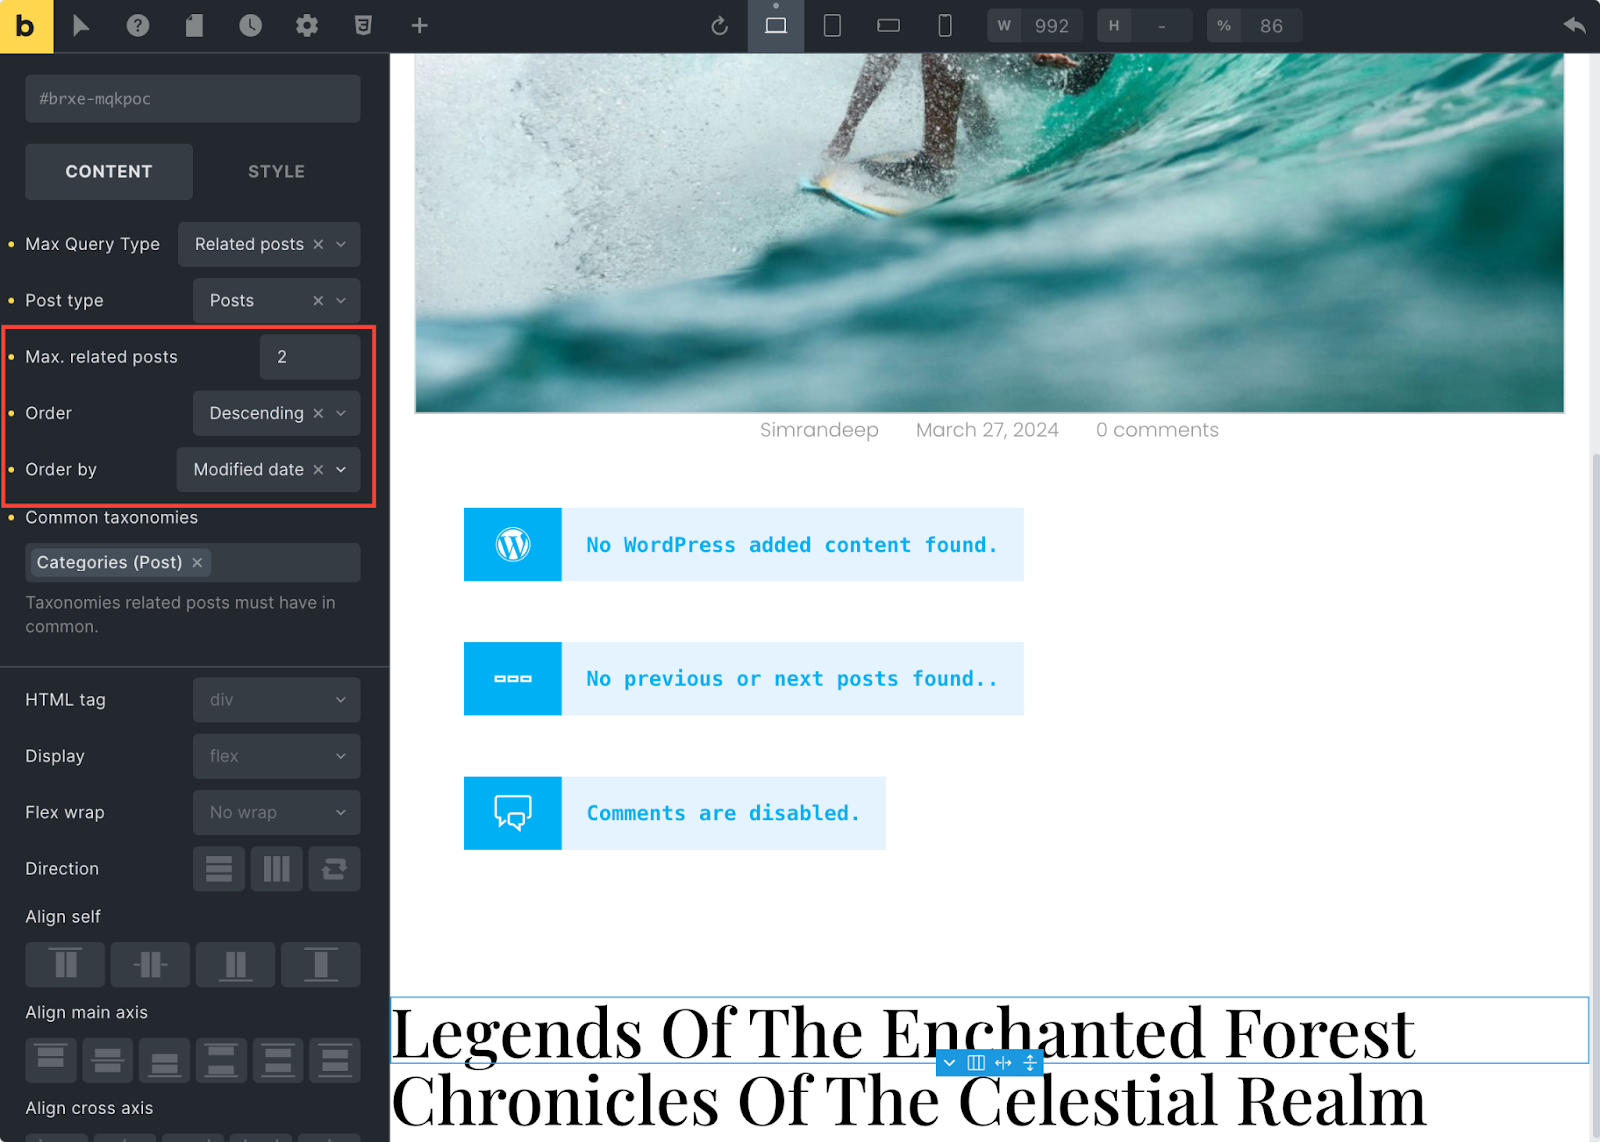
10. Define Max Related Posts, Set Order, and Order by Option
Determine the maximum number of related posts to be displayed. This ensures that only a certain number of related posts are shown, helping to manage the layout and maintain a user-friendly browsing experience.
You also get the option to select the desired order in which the related posts will be displayed. Options include ascending or descending order based on criteria such as date, title, or custom fields.
The Order By option specifies the criteria by which the related posts will be ordered. You can choose to order posts by date, title, author, comment count, or any other relevant parameter.
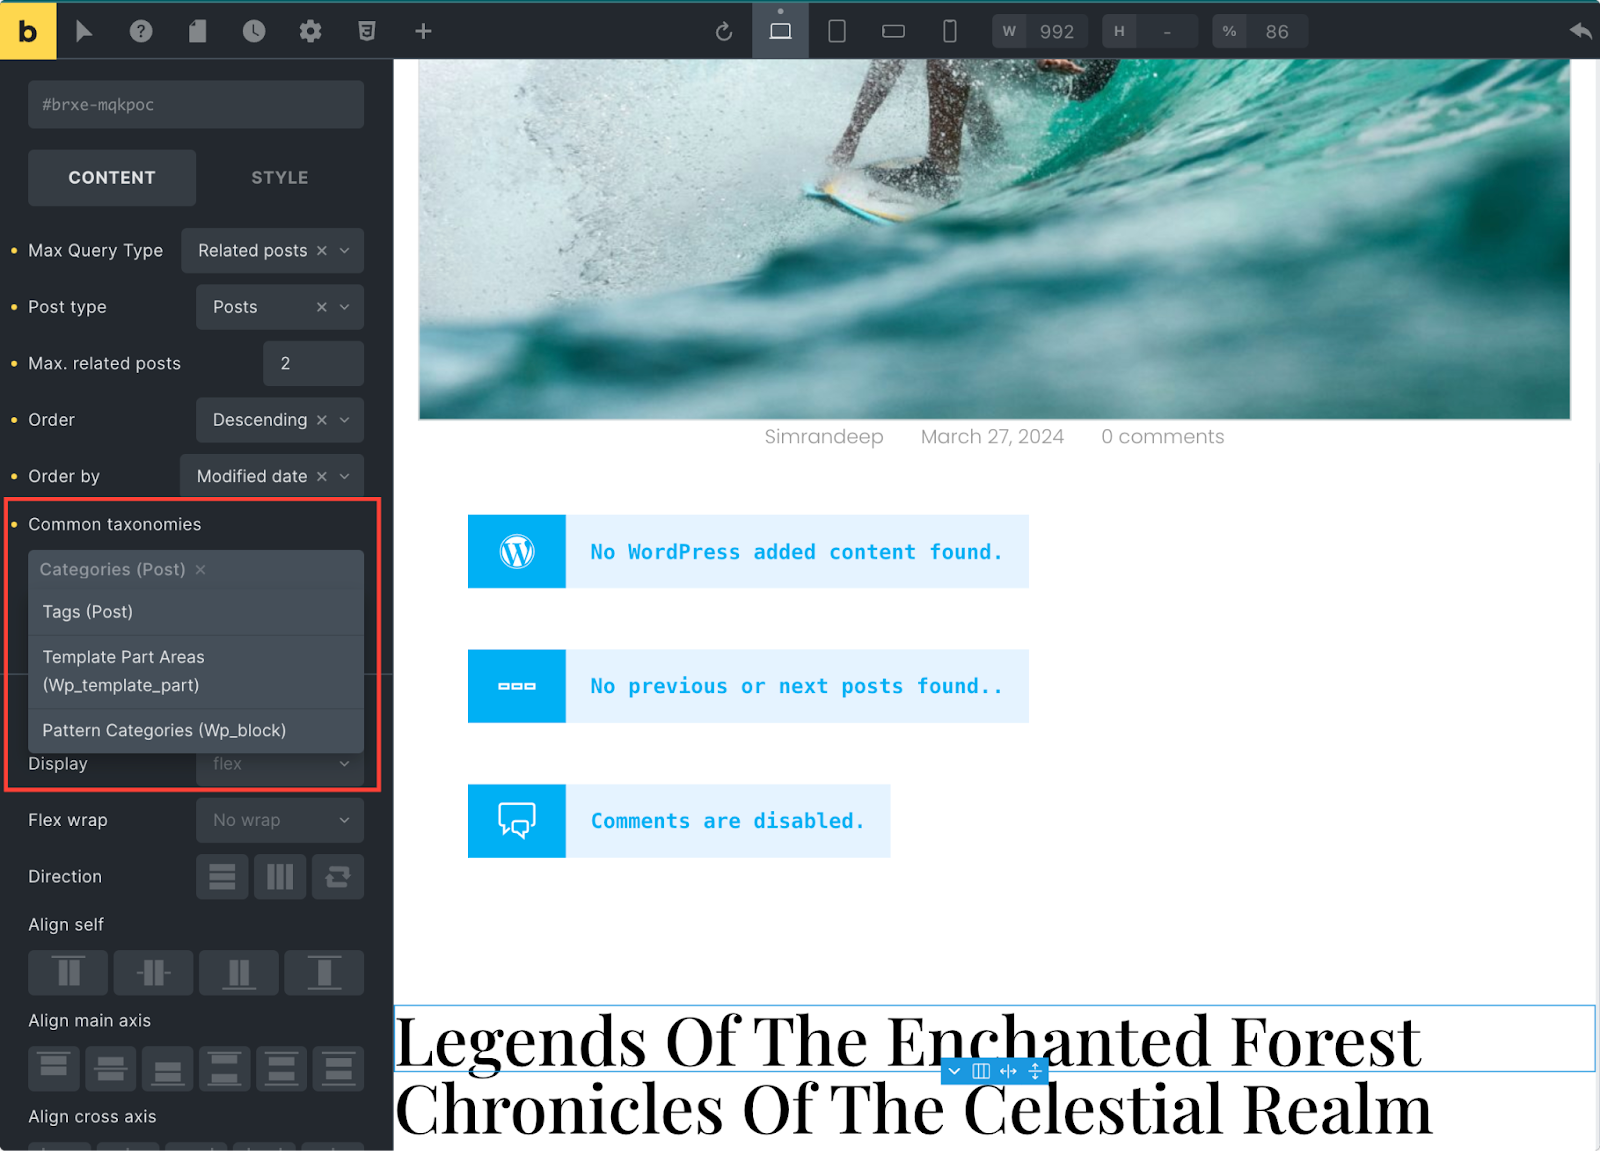
11. Pick Common Taxonomies
This setting allows you to define which taxonomies will be considered when determining related posts. Common taxonomies typically include categories, tags, and any custom taxonomies you’ve created.
12. Set Template Display Conditions
Once you are done with the customization, we need to set the Display Condition for the template.
To do that, click on the settings icon located in the left corner of the template. This will open the main Settings options.
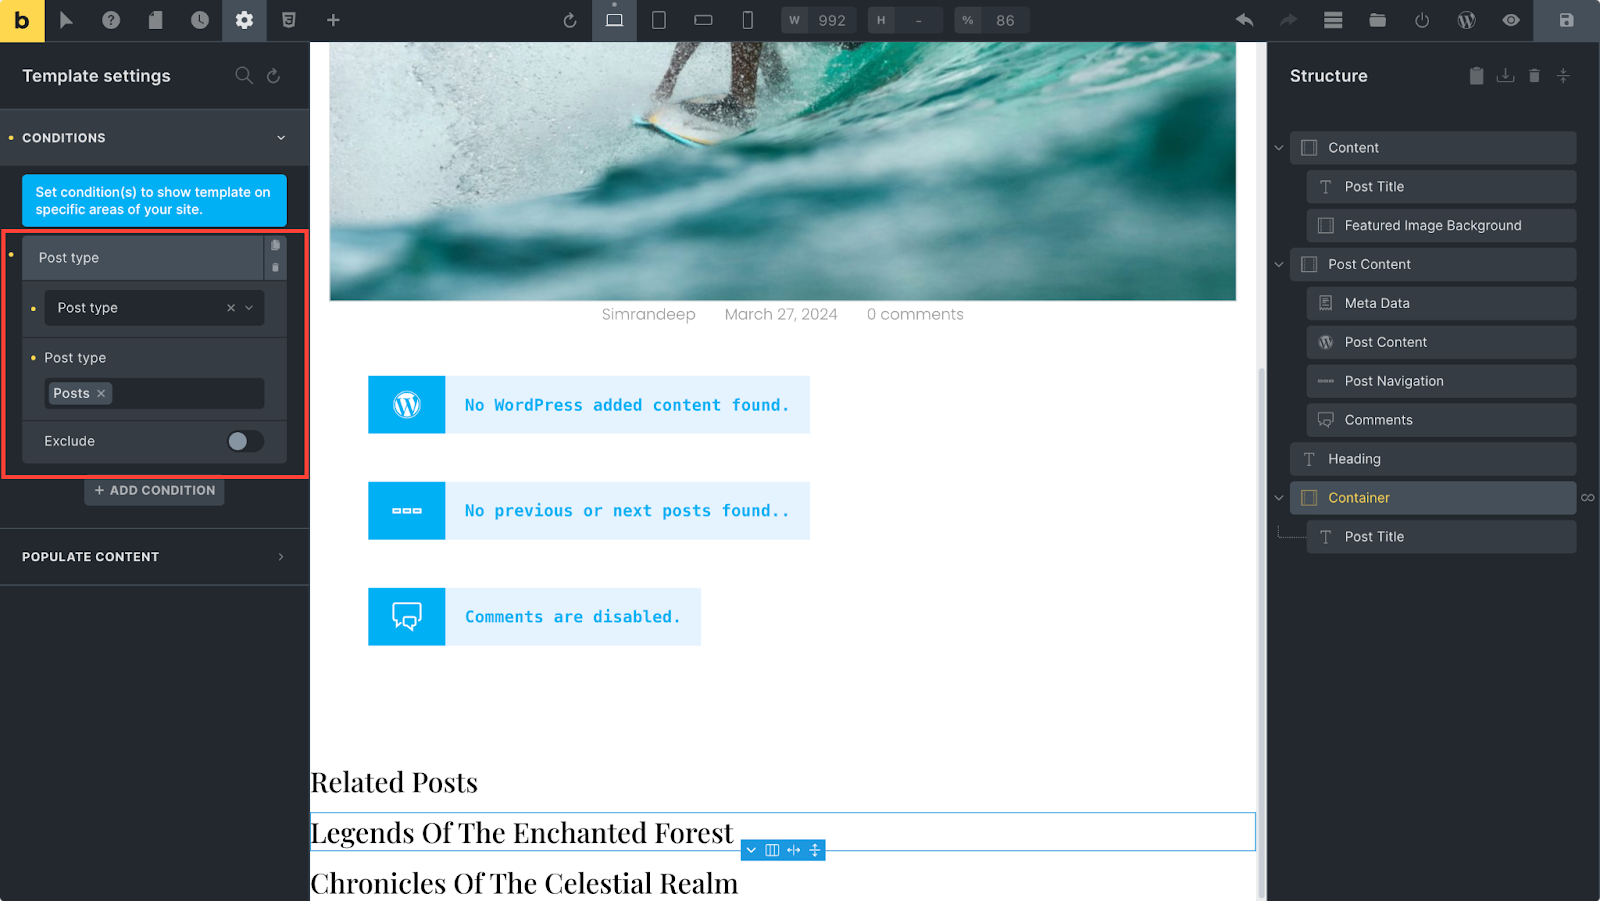
In the Settings panel, click TEMPLATE SETTINGS and then CONDITIONS.
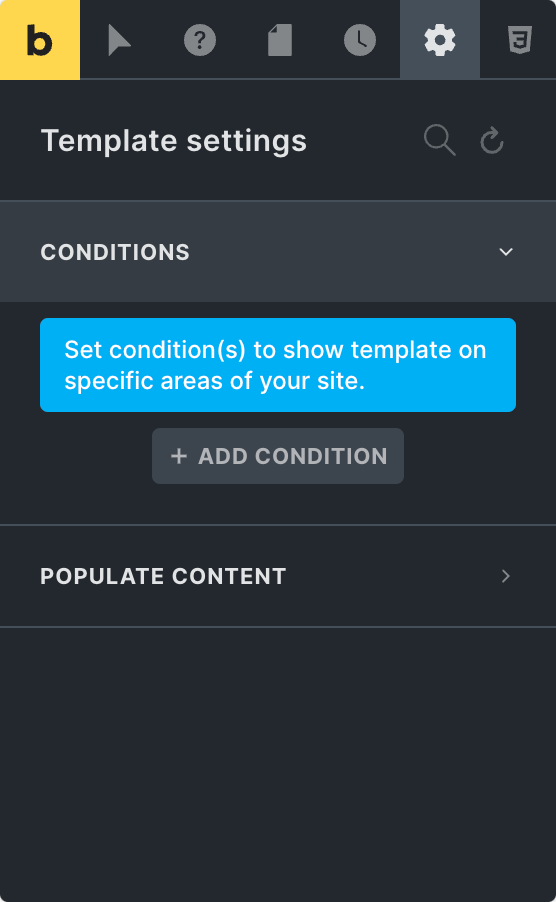
Next, click on +ADD CONDITION button and select Posts from the available options. This will automatically set the template for all of your website’s posts.
Wrapping Up!
With Max Addons Query Loop, setting up related posts in Bricks Builder is a breeze and can enrich your website’s content exploration. By following the steps outlined in this guide, you can seamlessly integrate related posts that enhance user engagement and streamline navigation for your audience.
Here’s an example of how your related posts section will look on the live page:

In addition to the Query Loop feature, Max Addons offers over 20 unique elements designed to supercharge your website-building process. These elements can significantly streamline your workflow, saving you valuable time and resources. Are you ready to elevate your website creation journey? Get Max Addons today!
If you found this helpful tutorial, feel free to share your thoughts by commenting below!